

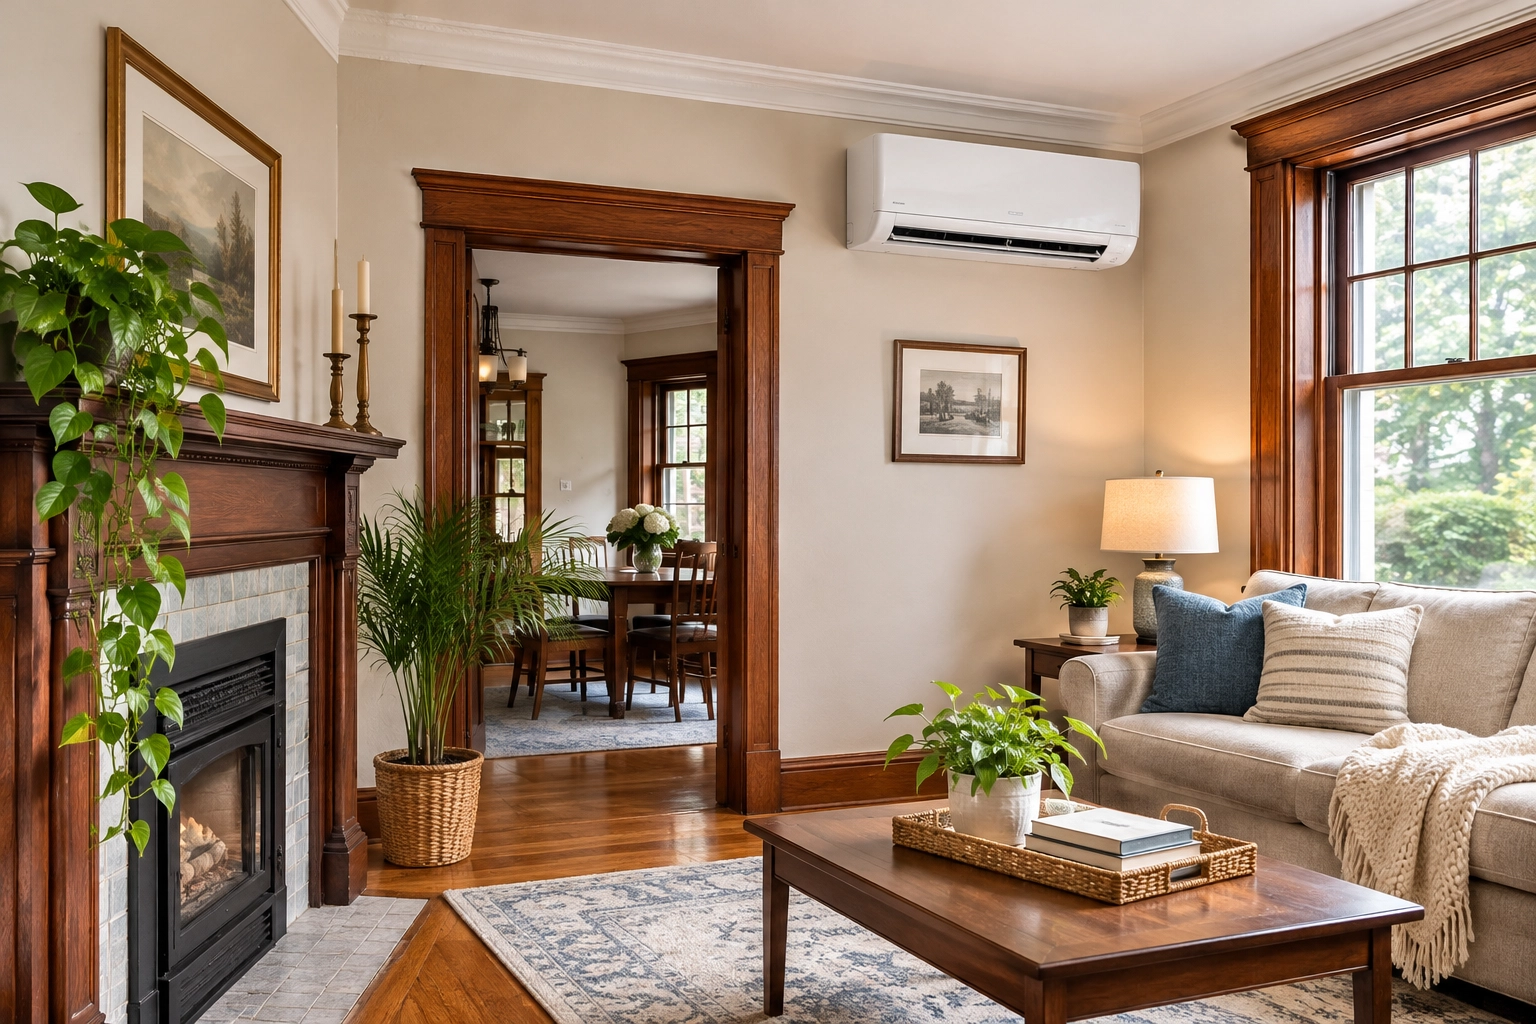
Older homes offer timeless architecture, beautiful craftsmanship, and distinctive character. However, keeping these properties comfortable throughout Massachusetts’ changing seasons can be challenging, especially when they lack modern ductwork.
Installing a mini split AC in an older home provides an efficient solution without requiring extensive structural renovations. Unlike traditional central air conditioning, ductless systems deliver heating and cooling directly to individual rooms through compact indoor units connected to an outdoor compressor.
For homeowners in Westport, New Bedford, Dartmouth, Fall River, and surrounding South Coast communities, mini splits offer a practical way to improve year-round comfort while preserving original architectural details.
Before installation, however, older properties require careful evaluation. Outdated electrical panels, plaster walls, insufficient insulation, and unconventional construction can affect equipment selection and installation costs.
Understanding these challenges helps homeowners make informed decisions and prepare their properties for a successful retrofit.
If you’re unfamiliar with ductless technology, explore our guide explaining how mini splits work before planning your installation.
1. Check Your Home’s Electrical System Before Installation
Electrical capacity is one of the first considerations when installing a ductless mini split in an older property.
Many homes built decades ago were designed for significantly lower electrical demands. A house originally equipped with basic lighting and a few appliances may now support modern kitchens, electronics, and multiple heating or cooling systems.
Although mini splits are energy-efficient, they still require properly sized electrical circuits.
Understanding Electrical Panel Capacity
Some older Massachusetts homes have 60-amp or 100-amp electrical service. Whether these panels can accommodate a mini split depends on the home’s existing electrical load and the equipment’s requirements.
Many residential mini splits operate on dedicated 208/230-volt circuits, while certain smaller systems use 115/120 volts.
A licensed electrician should evaluate the panel, available breaker spaces, wiring condition, and total electrical demand before installation.
An electrical service upgrade may be necessary if the existing system cannot safely support additional equipment. However, a 200-amp panel is not automatically required for every installation.
Addressing Outdated Wiring
Older properties may contain fuse boxes, deteriorating wiring, or electrical installations that no longer meet current safety requirements.
These conditions should be addressed before connecting new HVAC equipment.
Professional electrical inspections help identify potential problems and determine whether dedicated circuits, wiring improvements, or panel modifications are necessary.
Family Heating, Cooling, Electric & Plumbing offers electrical services alongside HVAC installation, helping homeowners coordinate improvements through one service provider.

2. Evaluate Wall Construction and Mounting Requirements
Older homes often feature construction materials that differ significantly from modern residential buildings.
Plaster-and-lath walls, brick exteriors, solid masonry, and irregular timber framing can complicate mini split installation.
Before selecting an indoor unit location, contractors must determine whether the wall can safely support the equipment and accommodate the required connections.
Installing Mini Splits on Plaster Walls
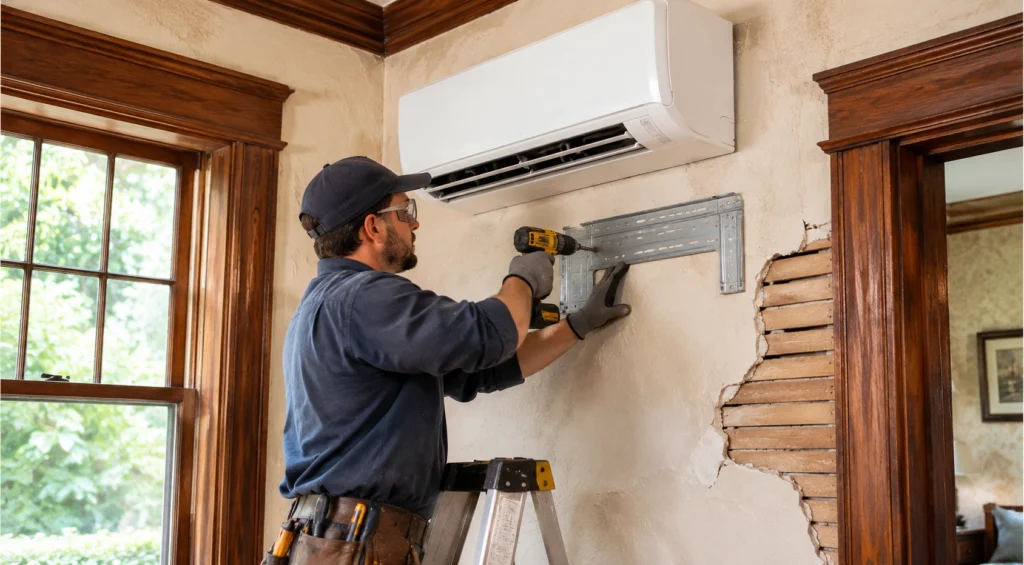
Many historic homes contain plaster walls supported by wooden lath. Although durable, aging plaster may crack during drilling or when inappropriate mounting hardware is used.
Mini split mounting brackets must be secured to suitable structural supports, such as wall studs or properly engineered anchors.
Because older homes sometimes have irregular stud spacing, installers may need specialized detection tools to locate reliable mounting points.
Careful installation protects the wall while providing long-term equipment stability.
Working With Brick and Masonry Exteriors
Connecting indoor and outdoor mini split components generally requires a wall opening for refrigerant tubing, electrical wiring, and drainage.
In brick or stone buildings, specialized drilling equipment helps create clean openings without unnecessarily damaging surrounding masonry.
Installers must also check for hidden plumbing, wiring, and structural obstructions.
For historically significant properties, minimizing visible alterations helps preserve architectural character and curb appeal.
3. Improve Insulation and Calculate the Correct Mini Split Size
Proper sizing is essential for achieving efficient heating and cooling in an older home.
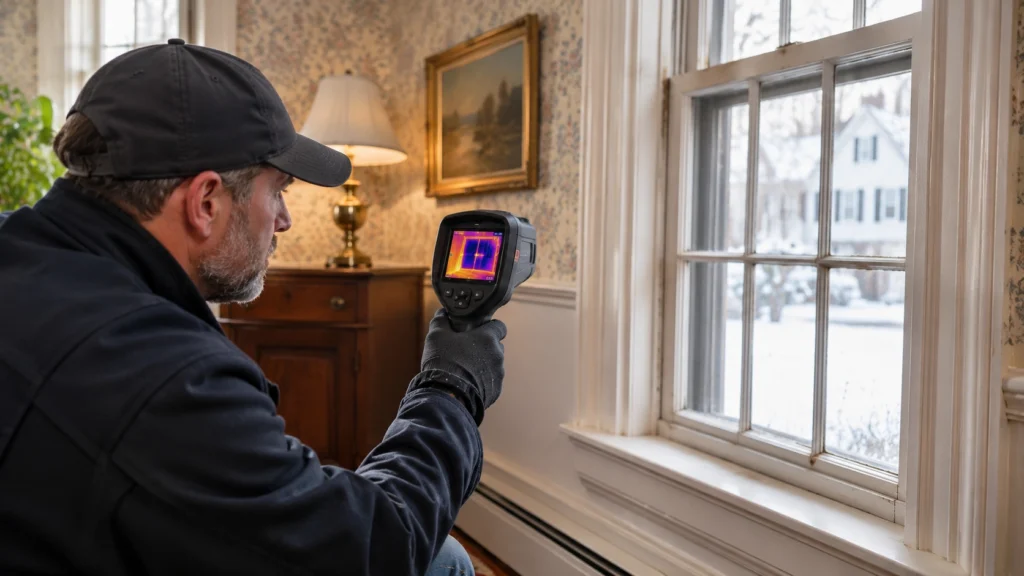
A common mistake is choosing mini split capacity based entirely on room square footage. Older buildings often have unique insulation conditions, window designs, and air leakage patterns that significantly affect heating and cooling requirements.
How Insulation Affects System Performance
Many older Massachusetts homes have limited wall insulation, drafty windows, and unsealed attic spaces.
These conditions allow heat to escape during winter and enter during summer, increasing the workload on HVAC equipment.
For example, an upstairs bedroom with large windows may require more cooling than a similarly sized downstairs room.
Improving insulation and sealing significant air leaks can reduce energy waste and help the new system maintain consistent temperatures.
Why Professional Load Calculations Matter
Before recommending equipment, an HVAC contractor should perform an ACCA Manual J heating and cooling load calculation.
This assessment considers insulation levels, window characteristics, ceiling heights, air leakage, and local weather conditions.
An oversized mini split may struggle with humidity control during mild weather, while an undersized system may fail to maintain comfortable temperatures during extreme conditions.
Proper calculations help determine the appropriate capacity for each room and whether a single-zone or multi-zone system is best.
4. Choose the Best Indoor Mini Split Location
Indoor unit placement affects comfort, airflow, and the appearance of your living space.
Older homes frequently feature crown molding, decorative trim, exposed beams, and other details that homeowners want to preserve.
A thoughtfully positioned mini split can deliver effective heating and cooling without overwhelming the room’s original design.
Balancing Airflow and Interior Appearance
Wall-mounted mini splits generally perform best when positioned high enough to distribute conditioned air throughout the room.
Installers should avoid locations where tall furniture, curtains, or structural features restrict airflow.
Placing a unit directly above a bed or frequently occupied seating area may also create uncomfortable drafts.
Manufacturer-specified clearances must be maintained around the equipment to support proper operation and servicing.
Exploring Alternative Indoor Units
Traditional wall-mounted air handlers are not the only option.
Floor-mounted mini splits can complement older rooms that previously used radiators, while ceiling-recessed units offer a more discreet appearance when sufficient ceiling space exists.
Concealed ducted mini splits may also be suitable when homeowners prefer minimal visible equipment.
The ideal configuration depends on the room layout, structural limitations, and installation budget.
5. Plan Outdoor Condenser Placement and Drainage
The outdoor condenser is another important part of a successful mini split retrofit.
Its location affects airflow, operating noise, maintenance access, and winter performance.
Older homes may have narrow side yards, established landscaping, or exterior features that limit available installation space.
Selecting a Suitable Outdoor Location
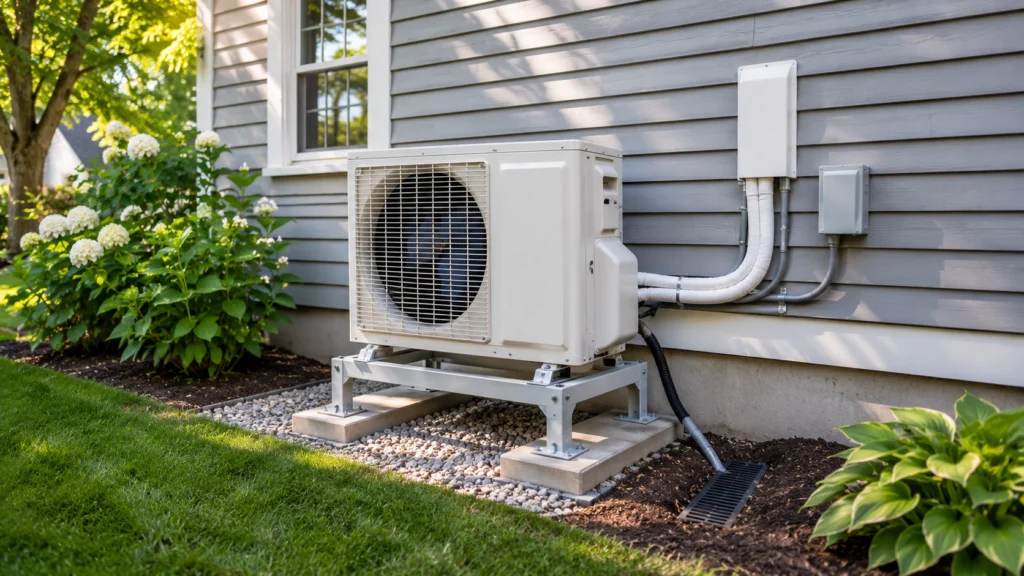
Outdoor units should rest on stable, properly supported mounting surfaces, such as equipment pads or appropriately rated brackets.
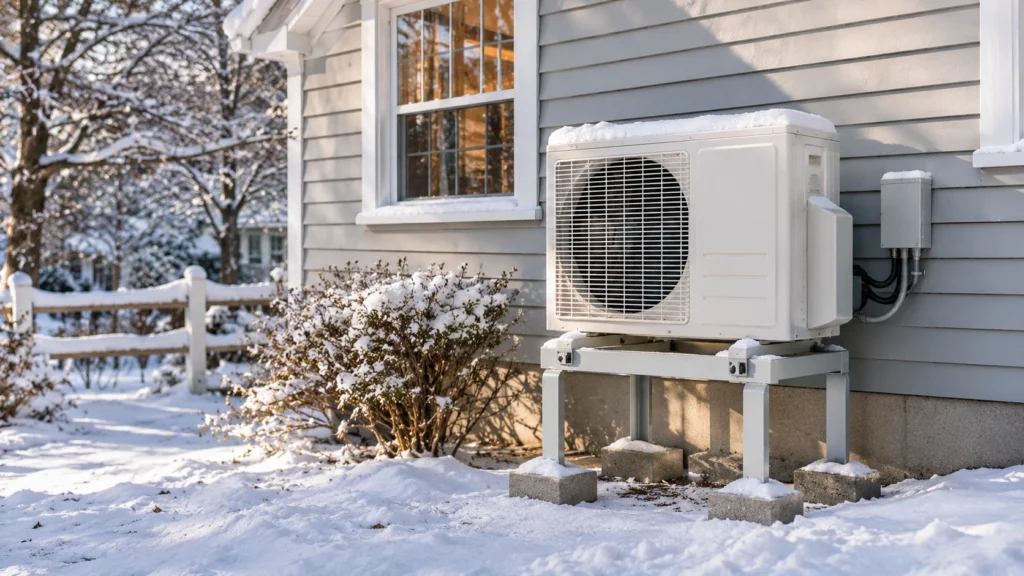
In Massachusetts, snow accumulation and freezing temperatures require special consideration.
Heat pump condensers need sufficient elevation and drainage clearance to prevent snow or ice from interfering with operation.
Adequate airflow around the equipment is equally important. Installers should follow manufacturer clearance specifications rather than placing units in tightly enclosed areas.
For wood-framed homes, vibration isolation can help reduce noise transmission through exterior walls.
Preventing Condensate Drainage Problems
During cooling, indoor mini split units remove moisture from the air.
This water must drain safely away from the equipment and building materials.
Gravity-fed drainage is often preferred when a suitable downward route is available. In more complicated layouts, condensate pumps may be necessary.
Proper drainage helps protect older plaster, wood framing, and interior finishes from moisture damage.
6. Protect Your Home’s Exterior Architecture
One advantage of mini split systems is their relatively limited structural impact compared with traditional ducted HVAC installations.
However, refrigerant tubing, electrical connections, and drainage lines still need to travel between the indoor and outdoor equipment.
For older homes, careful routing helps preserve exterior appearance.
Concealing Refrigerant Lines
Exterior line covers protect refrigerant piping and create a cleaner installation.
These covers can often be positioned along building corners, downspouts, or less-visible sections of siding.
Where appropriate, matching line-cover colors to existing exterior finishes helps the installation blend into the property.
Historic Property Considerations
Homes located within designated historic districts may face additional requirements concerning visible mechanical equipment.
Local preservation authorities may regulate condenser placement, exterior modifications, or screening.
Homeowners should confirm applicable building permits and historic preservation requirements before beginning installation.
7. Consider Cold-Climate Mini Split Heating Performance
Modern mini splits often provide both cooling and heating, making them attractive for Massachusetts homeowners seeking year-round comfort.
During winter, heat pumps transfer thermal energy from outdoor air into the home.
However, not every mini split delivers the same heating performance in freezing temperatures.
Choosing Equipment for Massachusetts Winters
Standard heat pumps can provide effective heating in moderate conditions, but heating capacity generally declines as outdoor temperatures fall.
Cold-climate models are engineered to maintain stronger performance during freezing weather.
Certain systems can maintain their rated heating capacity at approximately 5°F, with some models operating at even lower temperatures.
Actual output depends on the specific equipment.
A professional contractor should compare the home’s calculated winter heating requirements with the manufacturer’s published performance data.
If the mini split cannot meet the full heating load during extreme cold, supplemental heating may be appropriate.
For additional information about long-term system performance, explore our heat pump maintenance services.
8. Compare Mini Splits With Traditional Cooling Systems
Choosing the right HVAC system involves evaluating installation complexity, available space, efficiency, and long-term comfort.
Traditional central air conditioning may be practical when a home already contains suitable ductwork.
However, installing new ducts in an older property can require modifications to ceilings, walls, and other architectural features.
Ductless mini splits avoid extensive duct installation while offering independent temperature control in different rooms.
High-velocity small-duct systems are another option for properties where concealed air distribution is preferred.
Window air conditioners may provide temporary cooling, but they generally lack the integrated heating capabilities and whole-home design flexibility of a properly configured mini split system.
For homeowners renovating older houses, ductless technology often offers a favorable balance between comfort, installation flexibility, and preservation.
9. Prepare for Professional Mini Split Installation
Before purchasing equipment, schedule a professional assessment of your property.
A qualified HVAC contractor can inspect the home’s electrical system, evaluate installation locations, calculate heating and cooling loads, and determine appropriate equipment capacity.
This process also helps identify potential challenges involving wall construction, drainage, and exterior modifications.
Understanding Installation Costs
Mini split installation costs depend on the number of indoor units, equipment capacity, electrical requirements, and complexity of the installation.
Older properties may require additional preparation when existing wiring, structural conditions, or exterior materials complicate the project.
A detailed contractor proposal should explain the recommended system, installation scope, and any necessary improvements.
Maintaining Your New Mini Split
After installation, regular maintenance helps preserve efficiency and dependable operation.
Cleaning filters, inspecting drainage components, and scheduling professional servicing can reduce the likelihood of performance problems.
Homeowners can learn more about ongoing HVAC care through Family Heating, Cooling, Electric & Plumbing’s professional heat pump maintenance resources.
Upgrade Your Older Home With Family Heating, Cooling, Electric & Plumbing
Installing a mini split AC in an older home can improve year-round comfort without sacrificing the architectural features that make your property special.
From electrical inspections and accurate equipment sizing to careful wall mounting and condenser placement, professional planning helps ensure a successful retrofit.
Family Heating, Cooling, Electric & Plumbing serves homeowners throughout Westport, New Bedford, Dartmouth, Fall River, and surrounding South Coast Massachusetts communities.
Whether you’re upgrading an older heating system or adding cooling to a home without ductwork, our team can help evaluate your options and recommend a suitable solution.
Ready to improve your home’s comfort? Visit Family Heating, Cooling, Electric & Plumbing to schedule a consultation and explore professional mini split installation services.