
Understanding how to prevent frozen pipes is one of the most vital home maintenance steps every property owner must take before the deep winter freeze sets in. When temperatures drop suddenly below freezing, static water inside your plumbing expands, generating immense pressure that can split copper, PVC, and PEX pipes alike. A single burst pipe can release hundreds of gallons of water per hour, resulting in devastating structural repairs, ruined floorboards, and thousands of dollars in emergency home restoration.
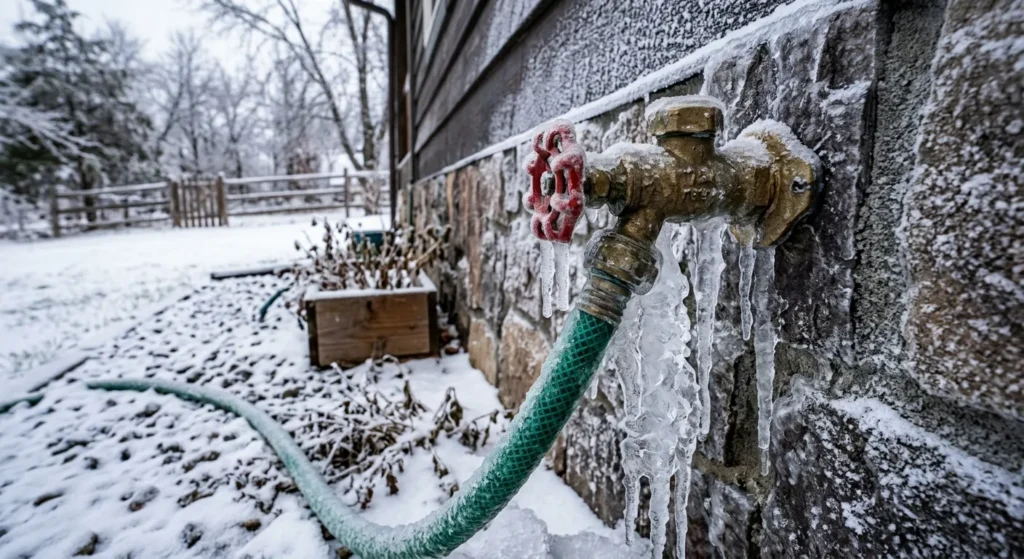
By proactively preparing your plumbing before extreme freeze-thaw cycles arrive, you protect your indoor plumbing infrastructure, safeguard outdoor spigots, and maintain dependable heat throughout the coldest months of the year.
Why Pipes Freeze: The Hidden Science of Freeze-Thaw Cycles
To understand how to prevent frozen pipes, it helps to know what actually causes a pipe to burst. Many homeowners assume that expanding ice directly breaks the pipe right at the point where the ice block forms. However, hydraulic mechanics show a different story.
+-----------------------------------------------------------------------+
|                        ICE BLOCK FORMS HERE                           |
|   [========================= ICE =========================]           |
|                                                                       |
|   Water trapped between ice block and closed faucet gets compressed   |
|   =======> WATER PRESSURE INCREASES DRAMATICALLY =========> [ FAUCET ]|
|                                                                       |
|                        PIPE BURSTS HERE                               |
|   (Rupture occurs at weak points due to trapped hydraulic pressure)   |
+-----------------------------------------------------------------------+
When water inside a pipe begins to freeze, it expands by roughly 9% in volume. As an ice plug forms along an exterior wall, it seals off that portion of the line. The expanding ice pushes against the remaining liquid water trapped between the ice block and a closed valve or shutoff point. This creates extreme hydraulic pressure downstream. When this trapped pressure reaches a critical threshold, the pipe ruptures at its weakest point—often yards away from where the ice plug actually formed.
High-Risk Areas in Your Home
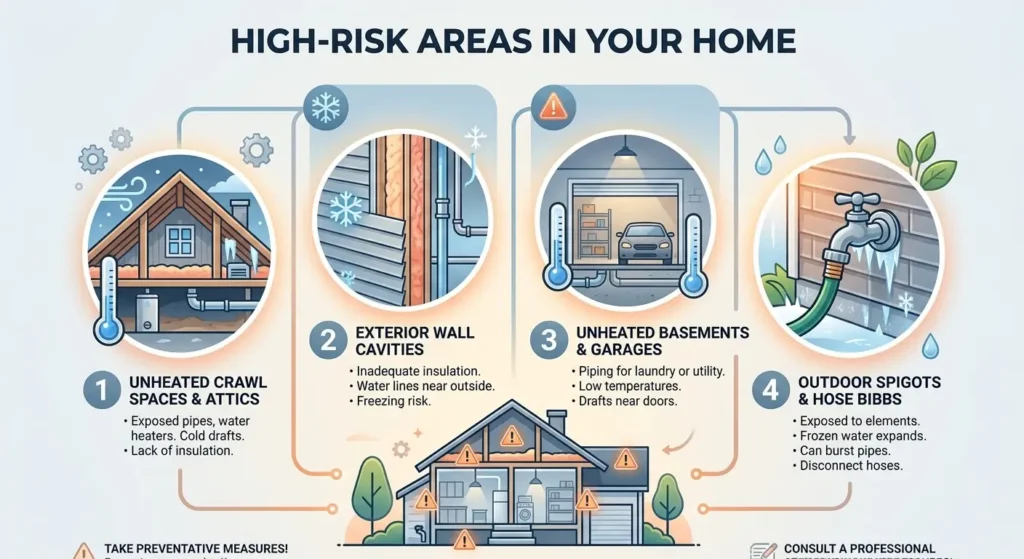
Pipes located in unconditioned, poorly insulated spaces are the first to suffer during rapid temperature drops:
- Unheated Crawl Spaces & Attics: Supply lines running through uninsulated overhead or under-floor spaces.
- Exterior Wall Cavities: Pipes routed along exterior-facing walls with inadequate insulation batts.
- Unheated Basements & Garages: Plumbing running near cold foundations, garage doors, or drafty sill plates.
- Outdoor Spigots & Hose Bibbs: Exterior fixtures directly exposed to freezing wind chills.
Proactive insulation, air sealing, and maintaining system health through professional preventative maintenance are essential strategies for protecting these vulnerable zones.
Step-by-Step Guide: How to Protect Outdoor Spigots Before Winter
Outdoor spigots (also known as hose bibbs or sillcocks) are your home’s most vulnerable plumbing fixtures because they extend directly into the open air. Winterizing these fixtures before the first hard freeze is your first line of defense.
Step 1: Disconnect Outdoor Hoses
  └── Remove garden hoses, splitters, and timers from exterior spigots.

Step 2: Shut Off Indoor Supply Valves
  └── Locate indoor shutoff valves and turn clockwise until fully closed.

Step 3: Drain Residual Water
  └── Open outdoor spigots and open indoor bleeder caps to clear remaining water.

Step 4: Install Insulated Spigot Covers
  └── Secure insulated foam or fabric covers tightly over outdoor hose bibbs.
1. Disconnect and Drain Garden Hoses
Leaving a hose connected during winter locks residual water inside the spigot body. As temperatures drop below 32°F (0°C), this trapped water freezes, expands, and splits the spigot body or the feeder pipe inside your wall.
- Action: Disconnect all garden hoses, brass splitters, and automatic timers before the first freezing night. Drain all hoses completely and store them indoors or in a dry shed.
2. Locate and Close the Dedicated Indoor Shutoff Valve
Most modern plumbing layouts feature an interior shutoff valve dedicated solely to outdoor hose bibbs.
- Action: Locate this valve in your basement, utility closet, or crawl space. Turn the handle clockwise to cut water supply to the exterior line.
3. Drain the Outdoor Line Completely
Simply turning off the indoor valve is not enough—water remaining inside the short section of pipe can still freeze.
- Action: Go outside, open the spigot handle completely, and let all remaining water drain out. If your indoor shutoff valve has a small brass bleeder cap on its side, unscrew it while holding a small bucket underneath to catch any trapped moisture.
4. Install Insulated Spigot Covers
Once drained, protect the exterior metal fixture against direct frost exposure.
- Action: Install hard foam or insulated fabric hose bibb covers over every outdoor spigot. Pull the securing tie tightly to seal out cold winter drafts.
Essential Indoor Strategies to Prevent Frozen Pipes
Protecting exterior spigots handles the outside threat, but securing indoor supply lines ensures your home stays safe during prolonged cold spells.
Maintain Consistent Heating
Lowering your thermostat excessively at night or while traveling creates cold micro-climates inside exterior wall cavities. Keep your thermostat set to at least 55°F (13°C), even when you are away from home.
If your heating unit struggles during sudden cold snaps, reviewing solutions for common winter HVAC problems can help ensure consistent indoor warmth before severe weather strikes.
Open Interior Cabinet Doors
Under-sink plumbing along exterior walls—especially in kitchens and bathrooms—often remains trapped behind cabinet doors where warm room air cannot reach. Opening these cabinet doors during extreme sub-zero weather allows furnace heat to circulate directly around supply lines and trap arms.
       [ WARM INDOOR AIR ]
                │
                ▼
   ┌──────────────────────────┐
   │  Open Cabinet Doors      │
   │  ┌────────────────────┐  │  <-- Circulates heated air around
   │  │  Pipes under sink  │  │      exposed under-sink plumbing
   │  └────────────────────┘  │
   └──────────────────────────┘
Let Faucets Drip During Extreme Cold
When outside temperatures dip into single digits or fall below zero, open faucets connected to vulnerable pipes so they trickle slightly.
- Why this works: A slow trickle keeps water continuously moving through the supply lines, making it harder for ice crystals to form. More importantly, an open faucet relieves hydraulic pressure build-up inside the pipe even if an ice plug begins to form elsewhere in the line.
Seal Drafts and Air Leaks
Cold outdoor air blowing directly through foundation cracks can freeze adjacent pipes within hours. Inspect sill plates, dryer vents, cable line entry points, and crawl space access doors. Seal any gaps using expanding spray foam, exterior-grade caulk, or weatherstripping to keep cold drafts out.
Applying comprehensive winter energy-saving tips helps eliminate these hidden air gaps, lowering heating bills while protecting your plumbing.
Insulation & Long-Term Plumbing Safeguards
Taking preventive steps every winter is essential, but adding physical insulation offers long-term protection against sudden freeze-thaw cycles.
| Insulation Method | Primary Location | Difficulty Level | Protection Level |
| Foam Pipe Sleeves | Unheated basements, crawl spaces, attics | Low (DIY Friendly) | Moderate |
| Fiberglass Pipe Wrap | High-humidity areas, tight angles | Moderate | Moderate to High |
| Self-Regulating Heat Tape | Extremely exposed, freeze-prone lines | Moderate to High | Very High |
| Wall Cavity Insulation | Exterior-facing plumbing walls | Professional | High |
Applying Pipe Sleeves
Tubular foam pipe insulation is inexpensive and easy to install. Slit foam sleeves slide over exposed copper, PEX, or steel pipes, creating a protective thermal jacket.
- Measure pipe diameters accurately ($1/2$-inch or $3/4$-inch are standard).
- Clean dust and moisture off the pipes before fitting the sleeves.
- Fit sleeves tightly together, securing joints with duct tape or heavy-duty cable ties.
Installing Self-Regulating Heat Cables
For vulnerable pipe runs in crawl spaces that experience sub-zero drafts, install self-regulating electrical heating cables (heat tape). These smart cables automatically adjust heat output based on ambient temperature, keeping water lines above freezing without wasting electricity. Always follow manufacturer installation guidelines carefully to ensure safe electrical operation.
What to Do If Your Pipes Freeze
Even with careful preparation, severe cold snaps can freeze exposed plumbing lines. Knowing how to safely thaw a frozen line minimizes potential damage.
            [ RECOGNIZE THE SIGNS ]
       Reduced water flow or frost on pipe
                       │
                       ▼
            [ SHUT OFF WATER SUPPLY ]
       Close main shutoff valve immediately
                       │
                       ▼
            [ SAFELY APPLY HEAT ]
     Hair dryer, heat lamp, or warm towels
     (NEVER use an open flame or torch!)
                       │
                       ▼
            [ MONITOR & TEST ]
    Check for leaks as water flow restores
Signs of a Frozen Pipe
- No Water Flow: A faucet turned on full yields only a few drops or a thin trickle.
- Visible Frost: Frost or ice buildup is visible along exposed basement or under-sink piping.
- Bulging Pipes: A section of copper or plastic pipe appears visibly swollen or discolored.
Safe Thawing Steps
- Leave Faucets Open: Open the affected faucet so water and steam can escape as ice thaws.
- Apply Gentle Heat: Use a hair dryer, a portable space heater, or warm, damp towels wrapped around the frozen pipe section. Start heating near the open faucet and work backward toward the frozen segment.
- NEVER Use an Open Flame: Blowtorches, propane heaters, or open flames pose extreme fire hazards and can melt plastic fittings or cause thermal shock that shatters metal pipes.
- Locate the Main Shutoff Valve: Keep your main water shutoff valve clear and accessible. If a pipe cracks as it thaws, shutting off your home’s main water supply immediately stops severe flooding.
If you cannot locate the frozen section, or if a pipe bursts while thawing, immediately contact a licensed plumber. For heating issues or boiler line concerns, schedule a prompt diagnostic check for boiler service to prevent severe freeze damage across your home’s heating infrastructure.
Winter Plumbing Maintenance Checklist
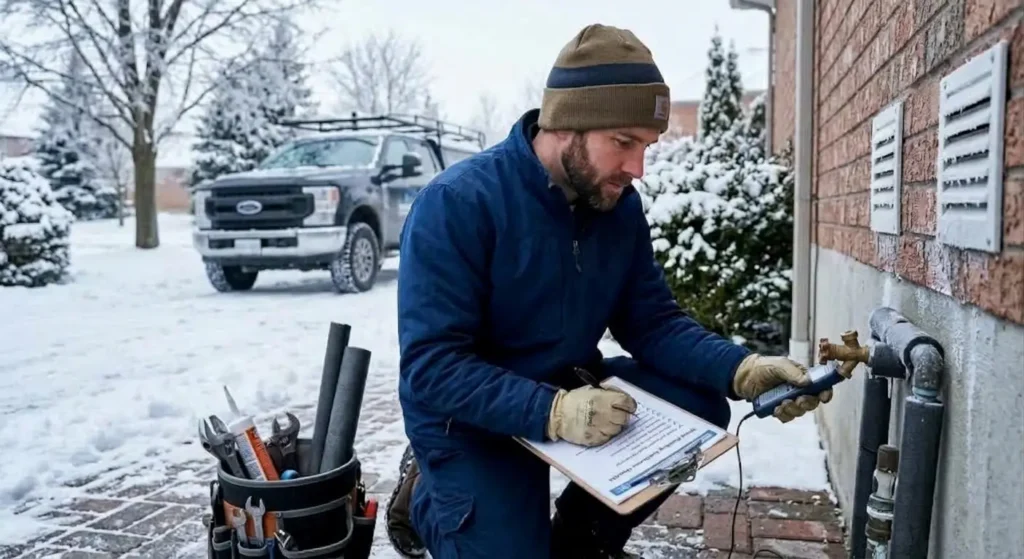
Use this quick checklist to ensure your home is fully protected before freezing temperatures arrive:
- [ ] Disconnect Outdoor Equipment: Remove all hoses, splitters, and nozzles from exterior spigots.
- [ ] Shut Off Exterior Valves: Close indoor supply valves dedicated to outdoor hose bibbs.
- [ ] Drain Exterior Spigots: Open hose bibbs outside to clear residual water completely.
- [ ] Cover Spigots: Install foam or fabric spigot covers tightly over outdoor fixtures.
- [ ] Insulate Exposed Pipes: Wrap exposed water lines in crawl spaces, attics, and unheated basements with foam sleeves.
- [ ] Check Water Pressure: Unexplained drops in flow can signal partial line freezes or hidden restrictions; review guidelines for resolving low hot water pressure if issue persists.
- [ ] Seal Drafts: Fill gaps near foundation walls, windows, and pipe entry points with expanding foam.
- [ ] Locate Main Shutoff: Ensure all household members know where the main water valve is located and how to operate it during an emergency.
Protect Your Home Before the Freeze Hits
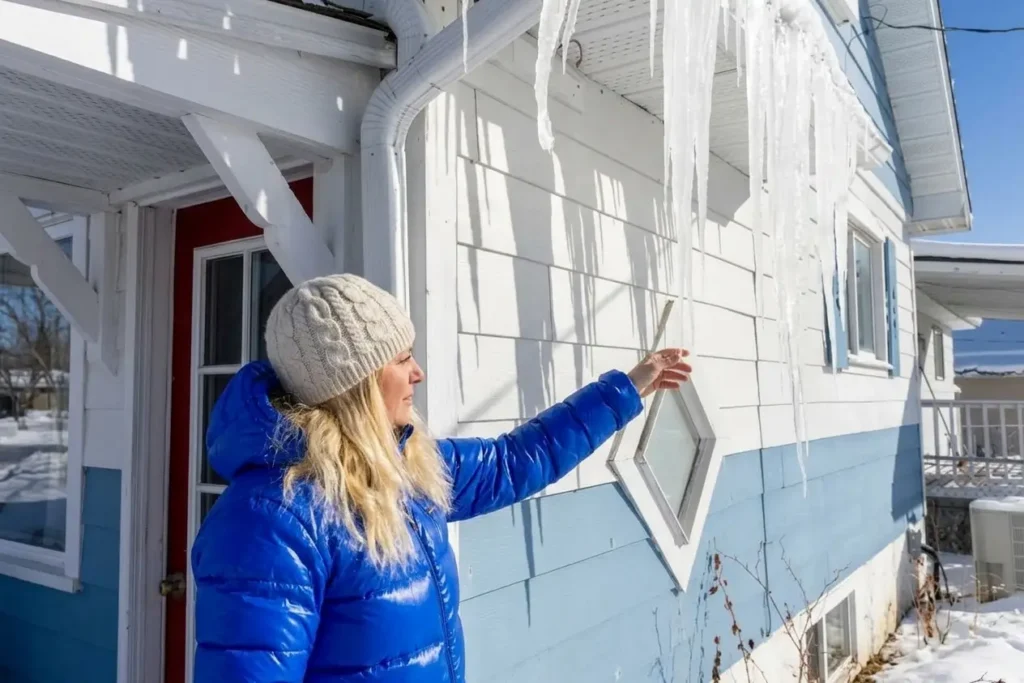
Taking time to winterize your home’s plumbing protects your foundation, interior walls, and water fixtures from severe freeze damage. Taking a afternoon to disconnect hoses, shut off spigot valves, and insulate exposed lines delivers long-term peace of mind throughout the winter season.
If you suspect frozen lines, need help installing freeze-proof fixtures, or want a comprehensive winter safety audit for your heating and plumbing systems, don’t wait for emergency repairs. Reach out to the certified team at Family Heating, Cooling, Electric & Plumbing to book your seasonal inspection and keep your home safe, warm, and dry all winter long.